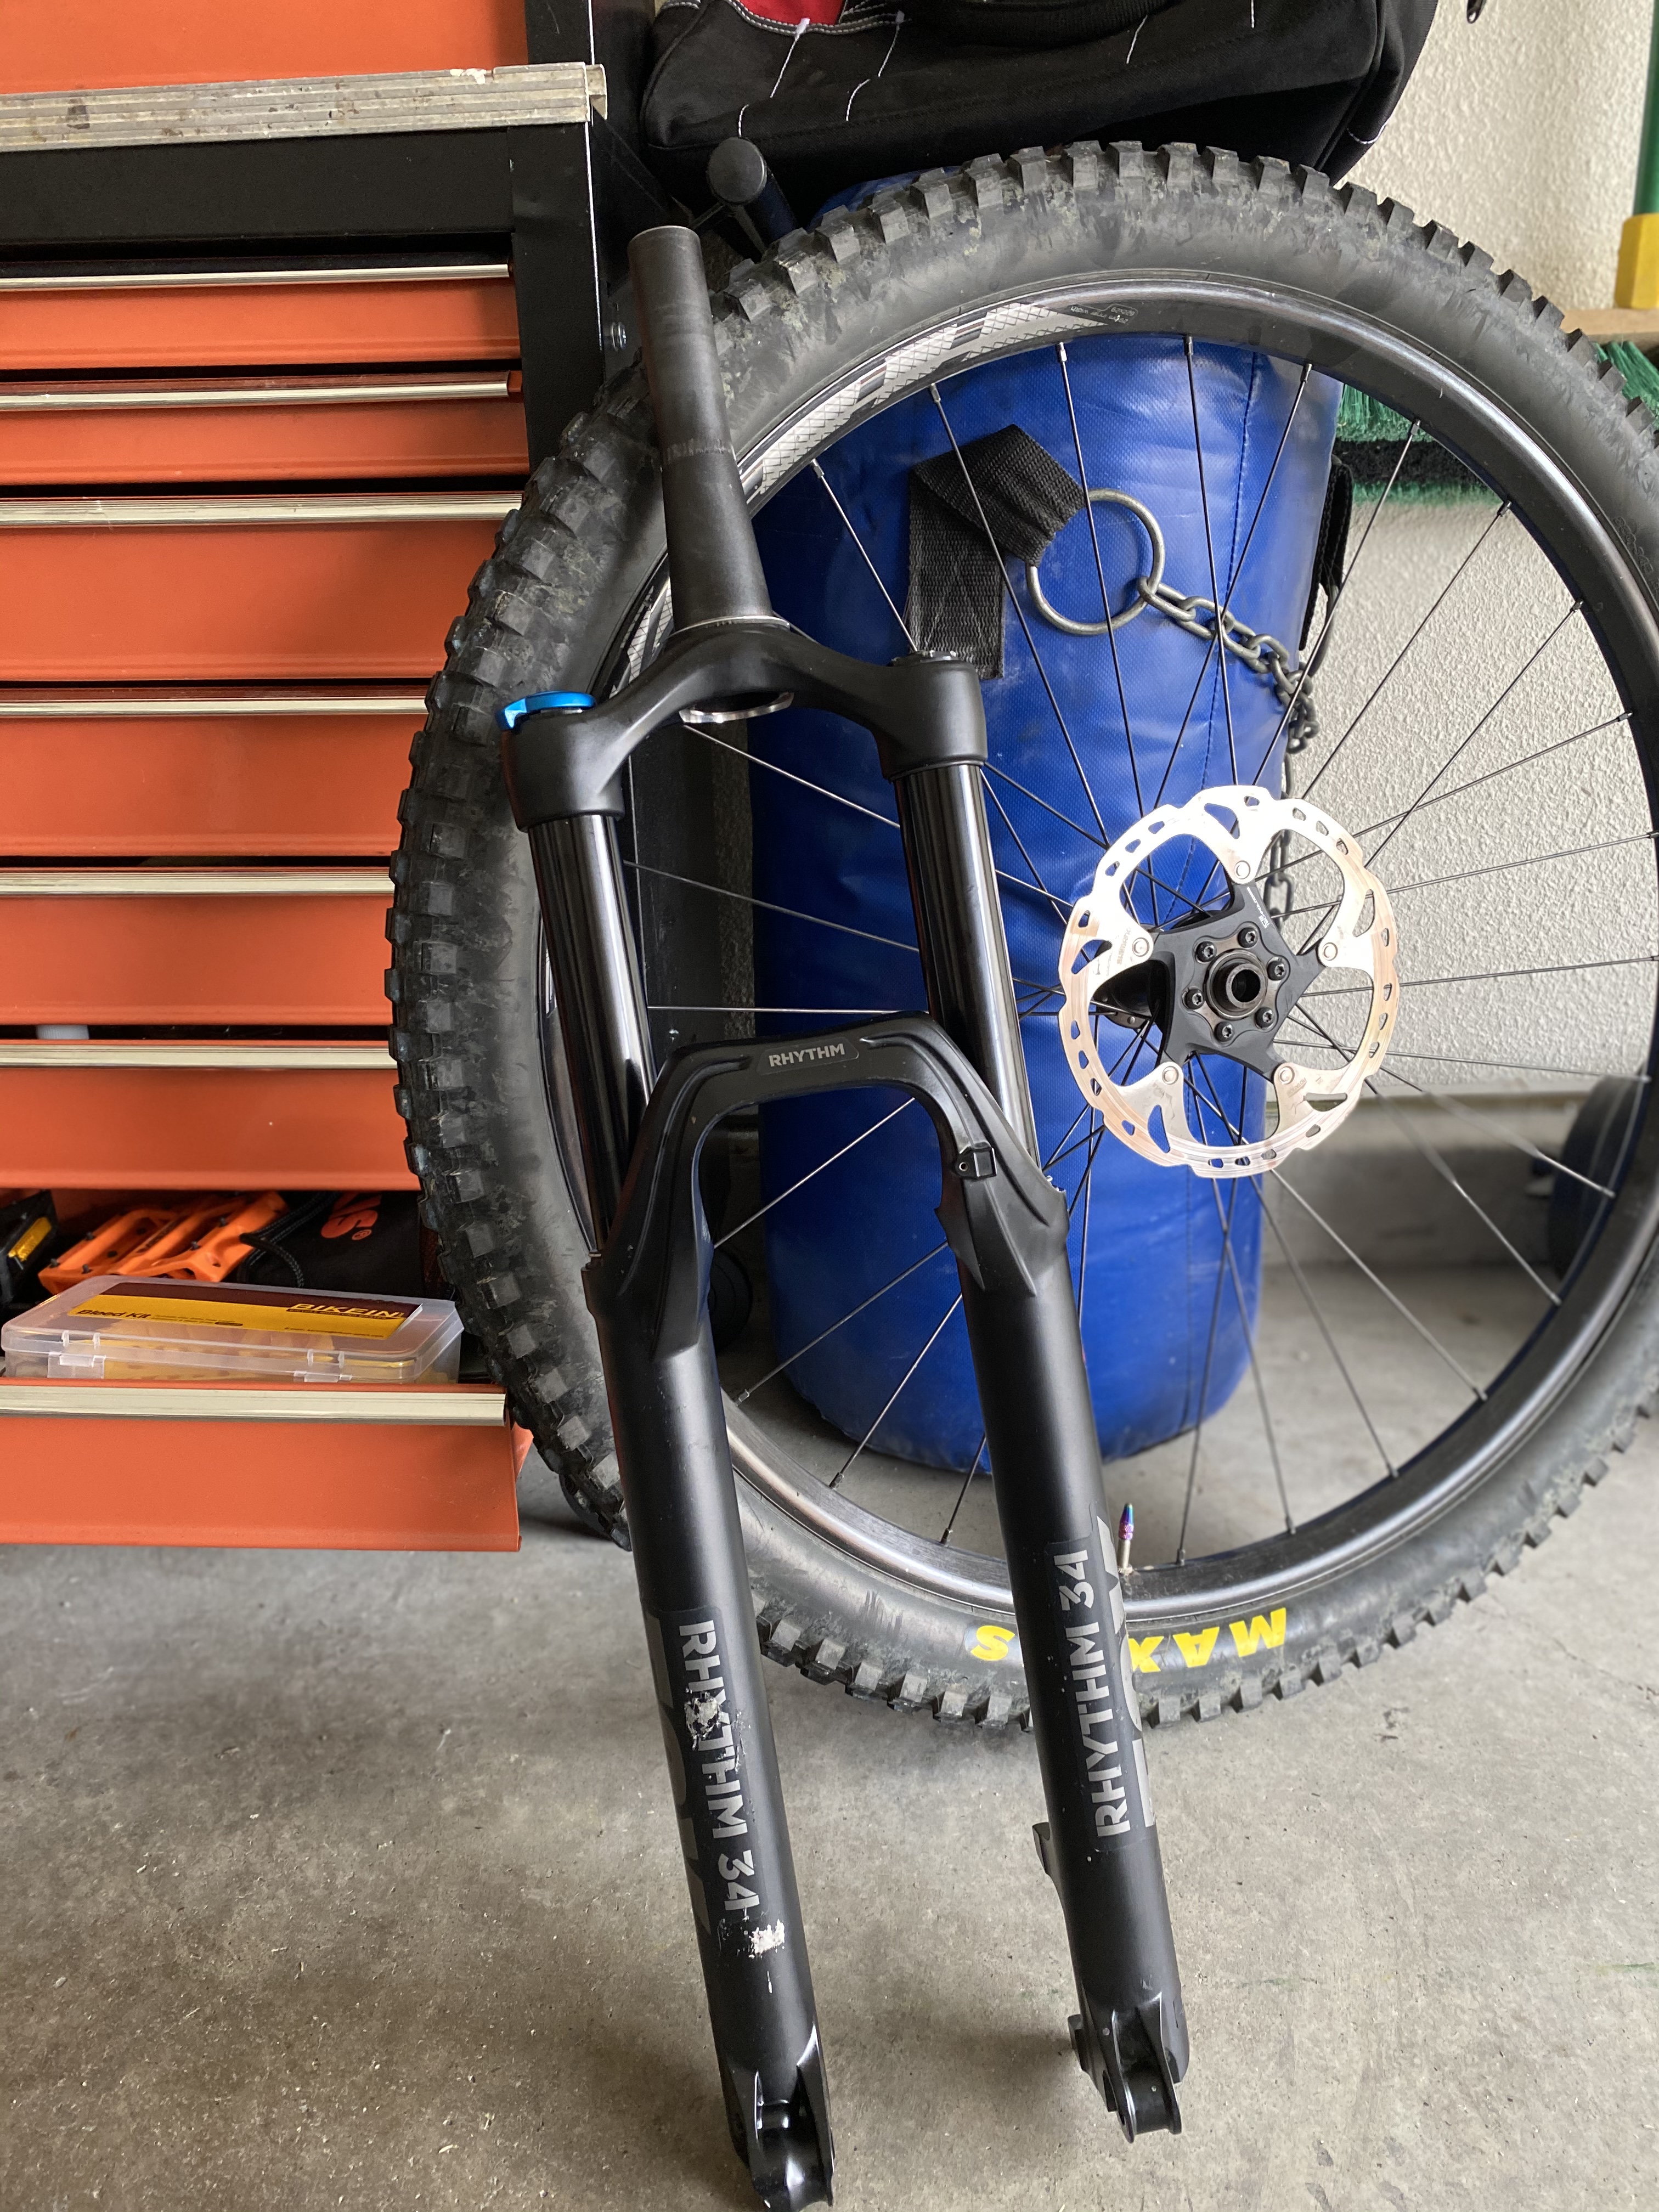
Fox 34 Rhythm Lower Fork Service - Stumpjumper 2018
Posted

I decided to do my lower fork service because I wanted to save money, thefactory parts and fluid are inexpensive, and the procedures were online andthere were various other how to videos available. The fork service can seemintimidating for a beginner but if you like to tinker around with your bike andare comfortable taking things apart, there is no reason you can’t do this lower service on your own.

This guys video was amazing and very helpful. Please check it out for guideance and a really good step by step
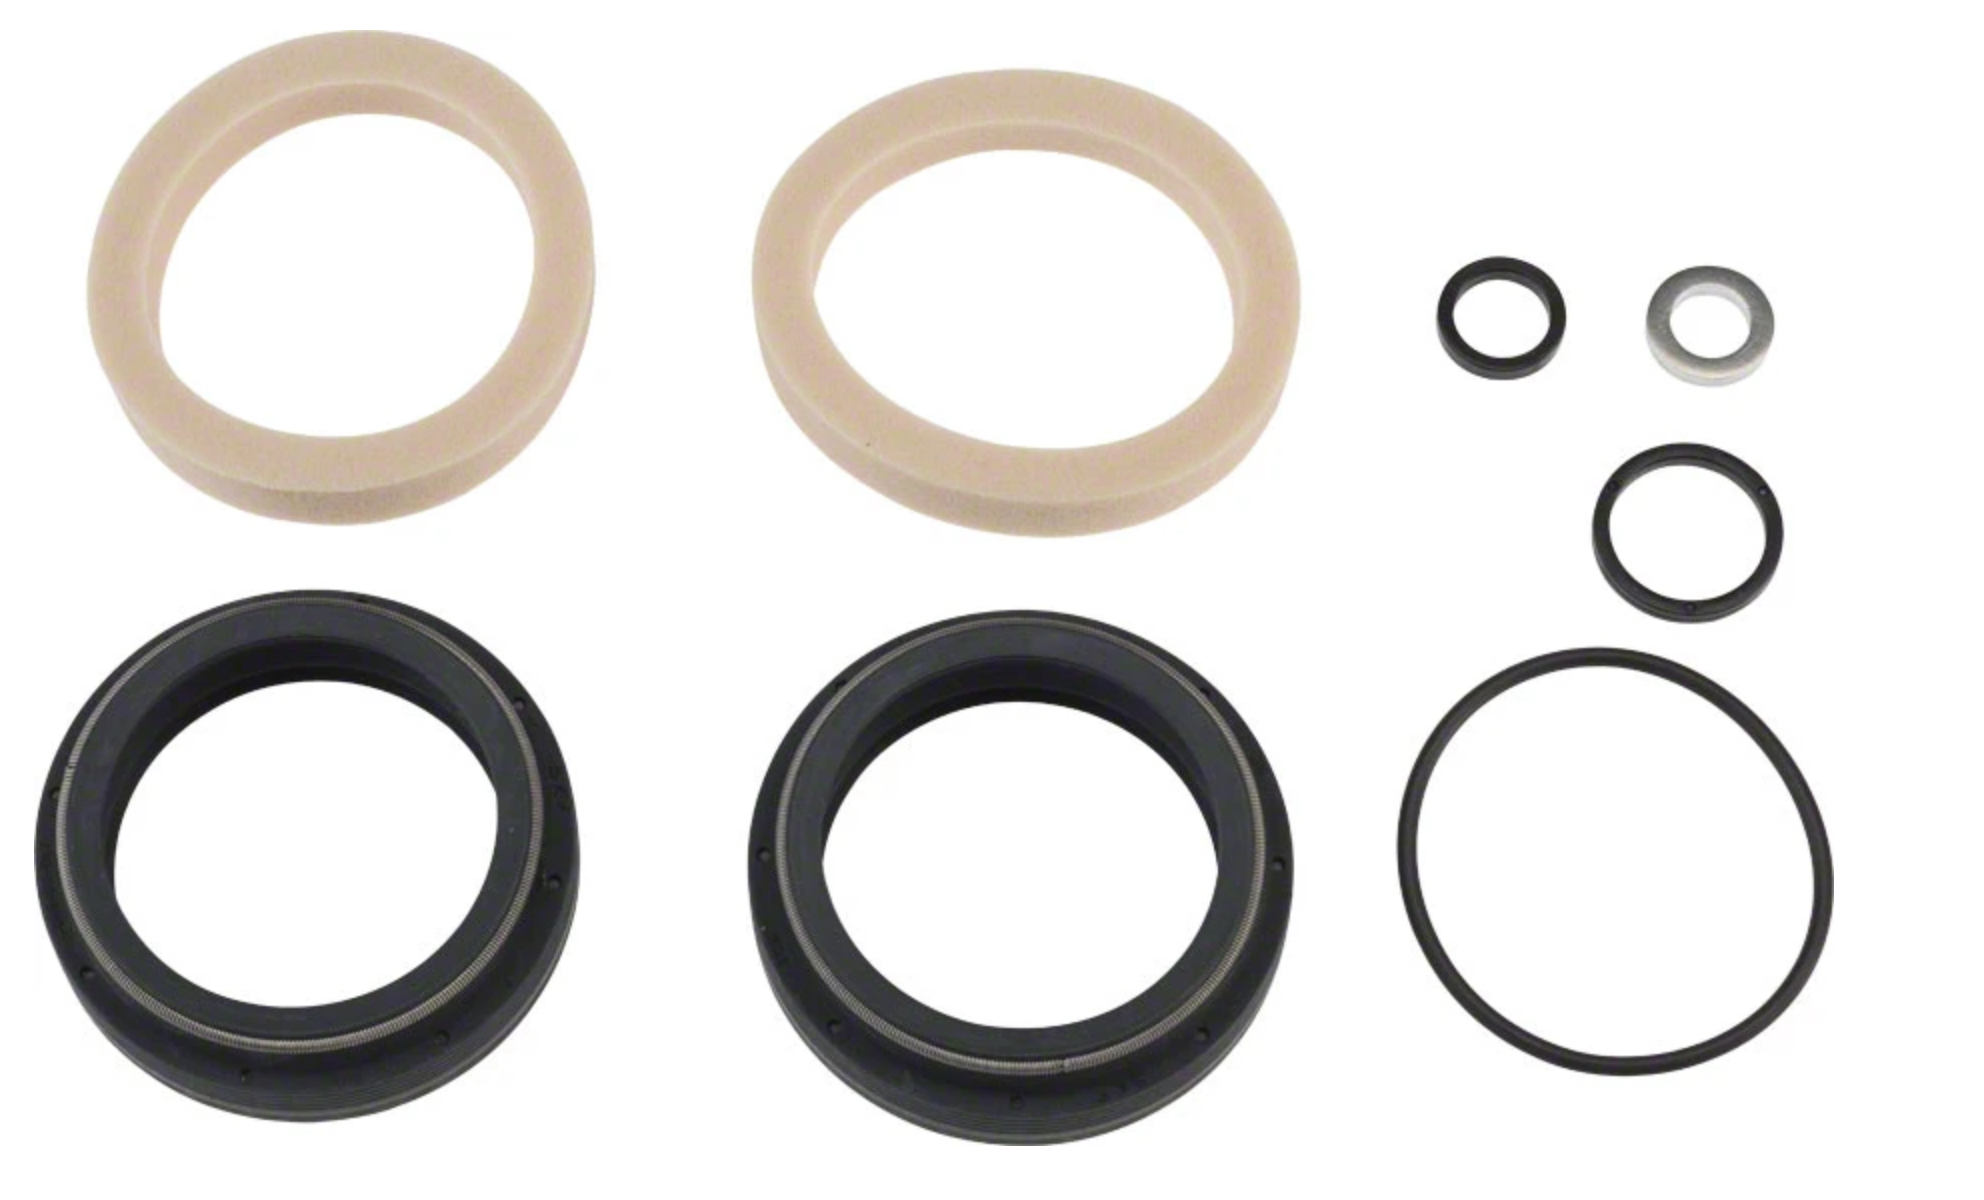
Before buying the Fork Dust Wiper Kit and fluids I did my research on what I needed onthe ridefox.com site under the Help > Bike section. Here you can type inyour four digit Fork ID and it will give you a list of available procedures anda fluid chart. Once I knew which fluids and how much I needed, I went ahead andpurchased the dust wiper kit for my Fox 34 Rhythm Fork. No matter if your forkis a Rhythm, Performance, Elite, this wiper kit will fit either level.
As far as tools and materials needed for this service, make sure you have the following: set of Allen wrenches, small torques adapters, metal or rubberpicks, lint free towels, isopropyl alcohol, dust wiper setting tool (or a large plastic bottle cap which I’ll explain later), and finally some slick honey orslickoleum fork grease. Once looking at a how to video about 3 times over I was ready for the install!
Once releasing the air from the fork I started on removing my fork lowers. Getting the fork lowers off is pretty straight forward. But in my case, after removing my Damper bold, the crush washer was not releasing and took me about 30 minutes to remove so I could actually pull the lowers off. There’s not much to damage in the way ofthe crush washer, but be careful to not mess up the bolt threads if it gives you hard time. Once getting your crush washers off, you then begin to drain the old fluid and wipe clean the internals of the lowers and the stations.
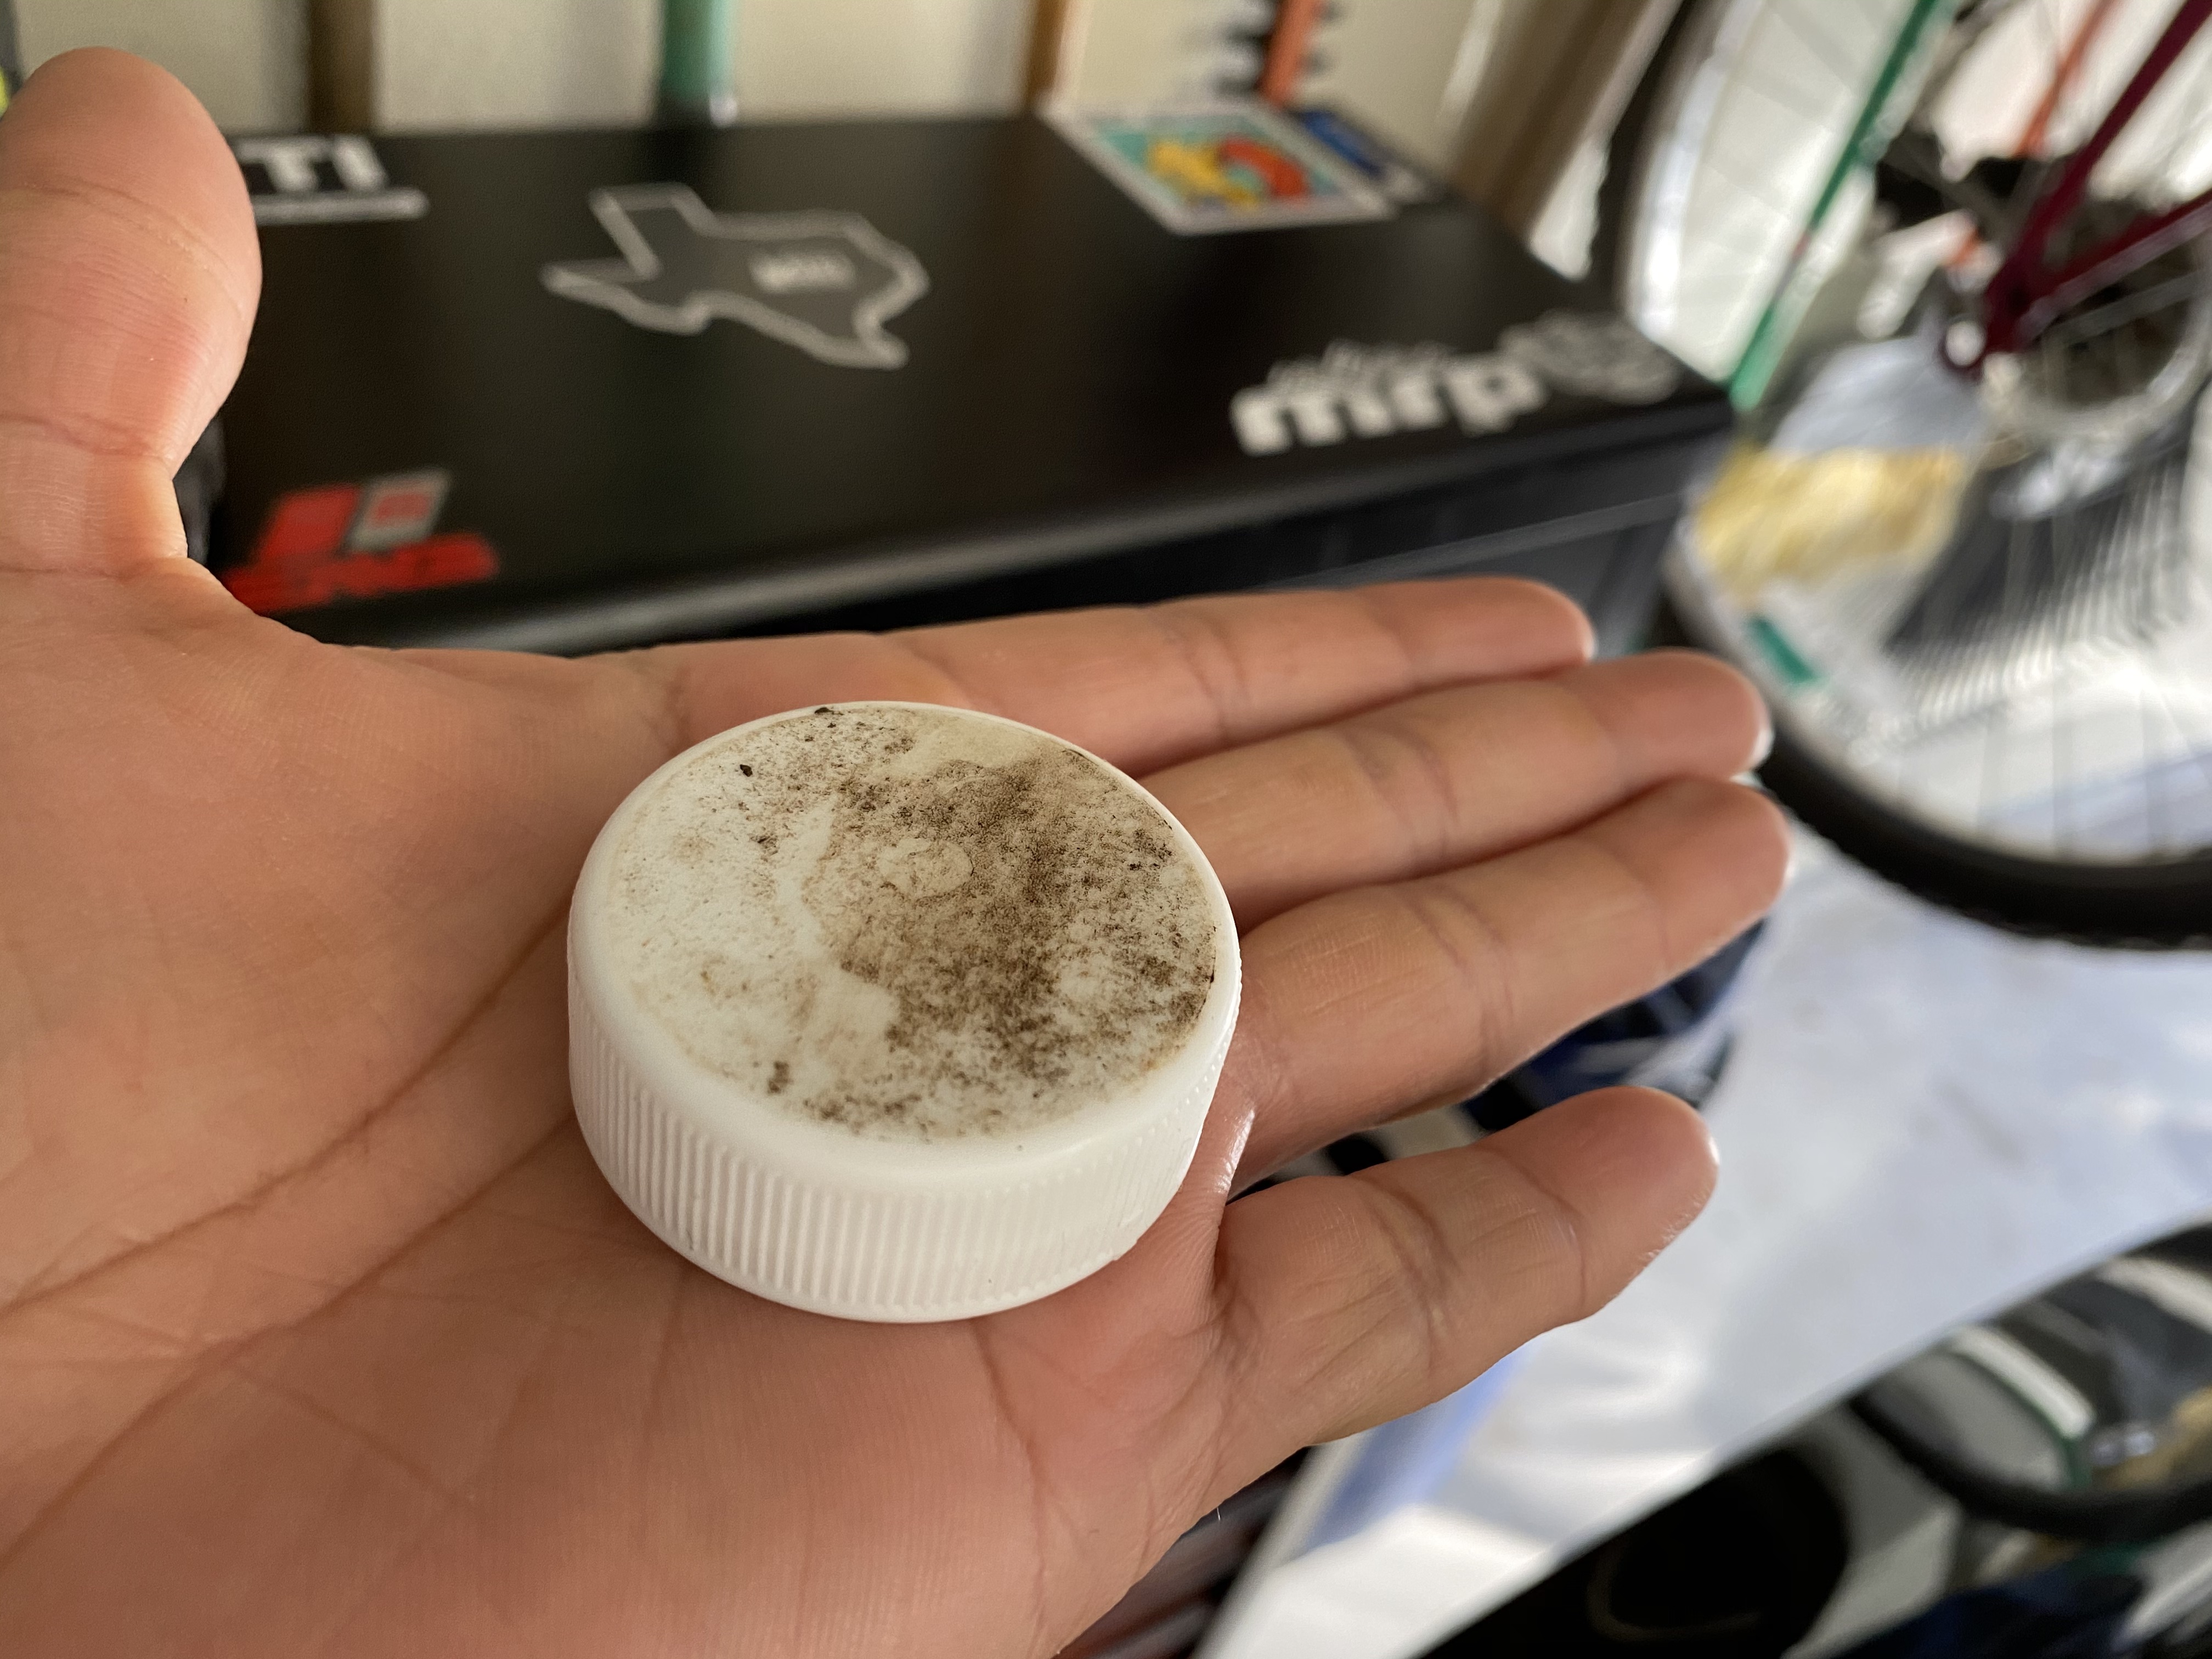
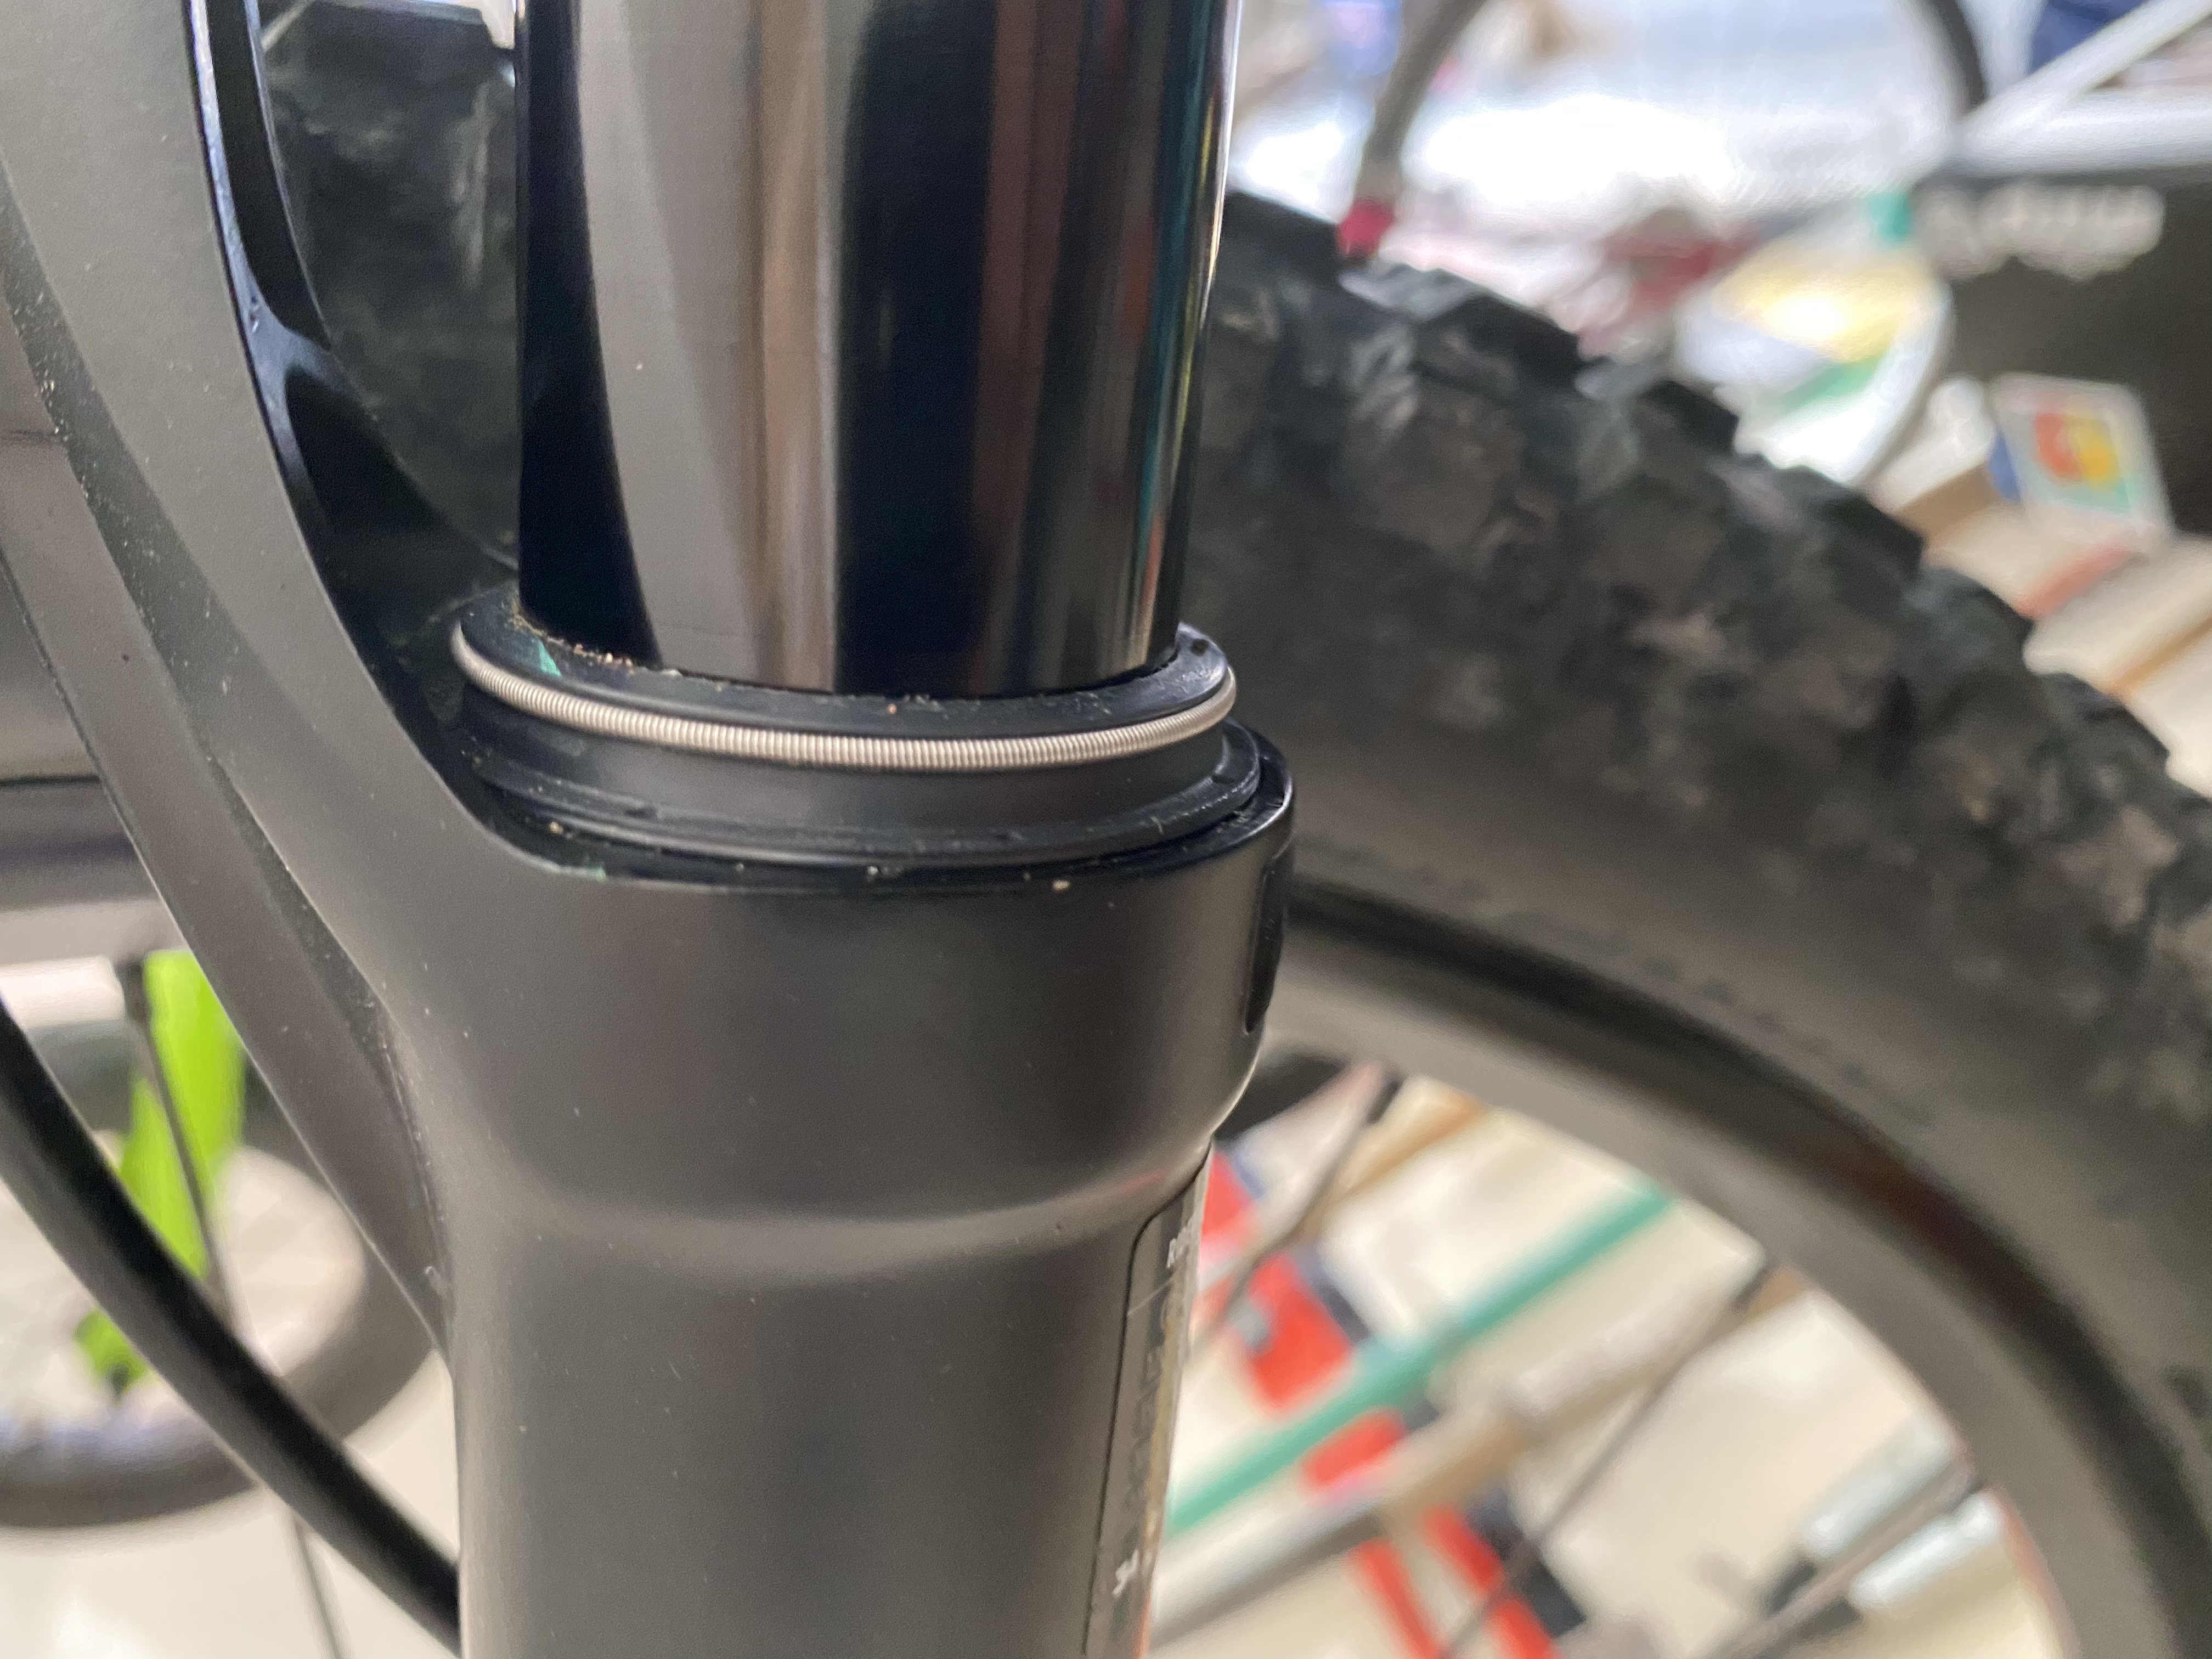
Next comes the dust wipers and seals. These are pretty straight forward to take out.The foam seals are easy to take out, but the dust wipers require a little moreforce. Once again I ended up using screwdriver to get the dust wipers off butwas extremely careful to not scratch the inside of the fork. During this time I soaked all my seals in Fox Gold Bath so they were ready for installation. Once setting the foam seals, I was ready to install the dust wipers. At this point you can use a specialty tool to hammer in the dust wipers. They area very tight fit to ensure dust and debris do not enter the fork. As such, they have to be pressed into the fork with force. Specialty tools can be ordered online to do this part, however I opted for a plastic cap from a large Kroger Electrolyte bottle.

Depending onthe size of your fork (34,36,40) you can probably find a cap in your fridge or panty that will fit your dust wiper diameter. After carefully hammering onthe dust wiper with care and precision, I made sure the top of the wiper was aligned with the top of the fork mounting area. It is important that you don’tover press it or get it in unevenly, as it can affect the seals.

By this time the hard part of the install was over. Add your new bottom outo-ring, and now it’s time to put your fork lowers back on and add your bath oiland fork oil. Check the proper measurements needed for the air and damper side because they can be different and will cause issues if you don’t put in the right fluids. My 34 Fox Rhythm called for 10 cc/mm of Fox 20wt Gold on the Air side and then 40 cc/mm of Fox 5wt Teflon Infused Oil on the Damper side. This site has oil specifcations for all forks (https://www.ridefox.com/fox17/help.php?m=bike&id=884). Once getting the oil filled you can replace the crush washers andput your air and damper bolts back on. Just be sure not to over tighten them. At this point you may have extra seals laying around but don’t worry as they may be needed for a different trim level of your fork.
Overall the first time to do this procedure will take a little longer than needed, but I think the next time you do it will be much faster. In total it took me 1.5 hours to do this. I think it’s a good 45 minute job if you have experience and even quicker if you have the right tools. I didn’t have a good bike stand and some of the specialty tools needed to do this, but that didn’t stop me from getting it done. I saved loads on labor doing it myself and have taken pride in knowing I’m taking care of my ride with the available maintenance kits! Planning on doing my rear shock maintenance service next.
